Details
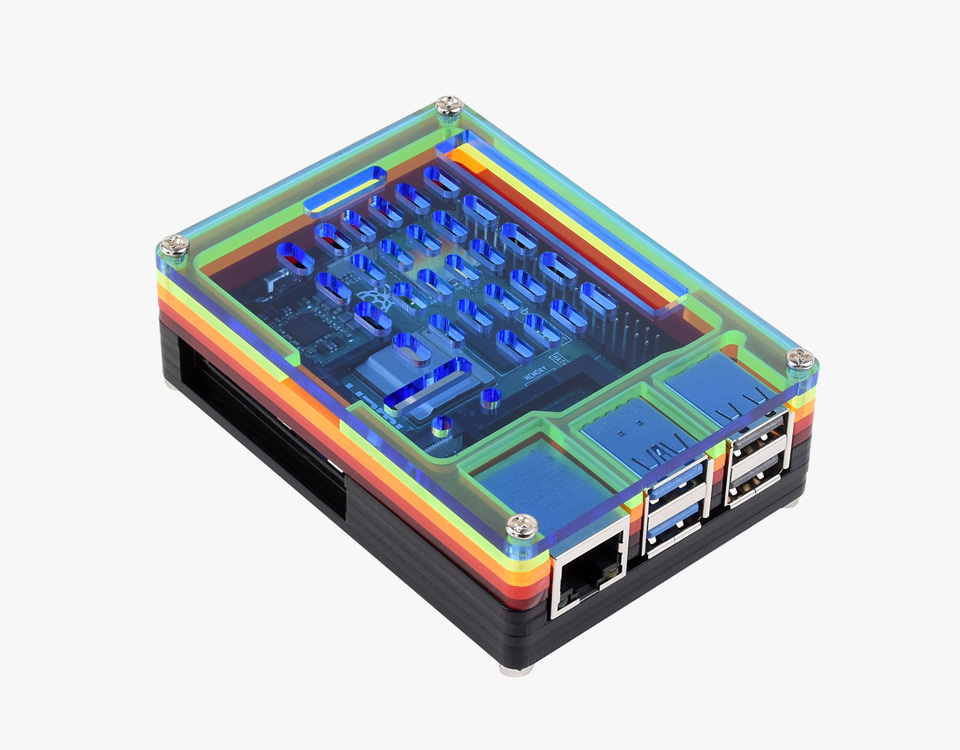
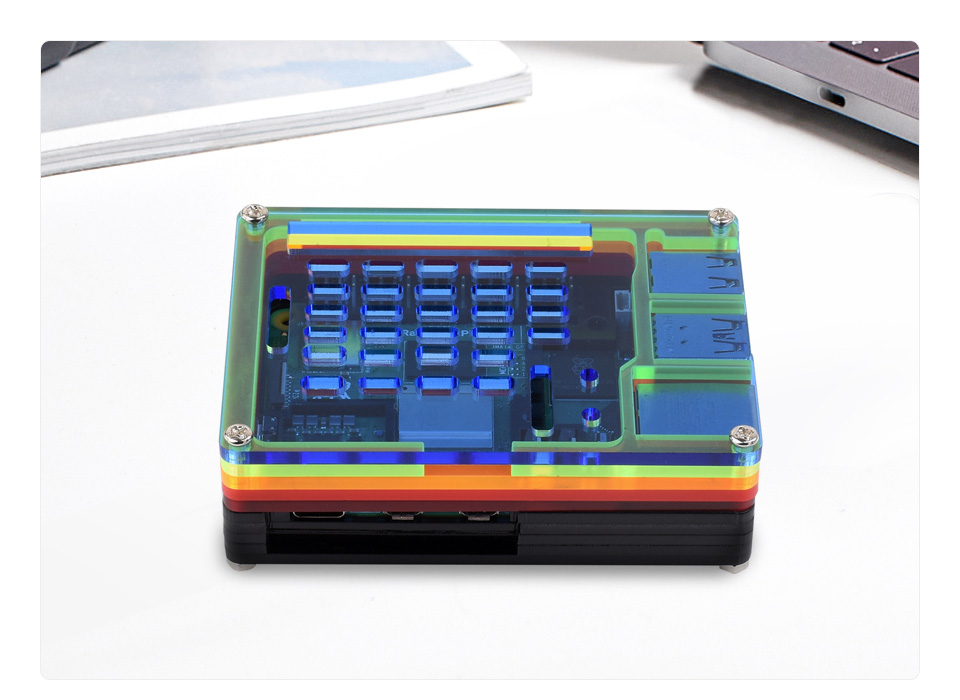
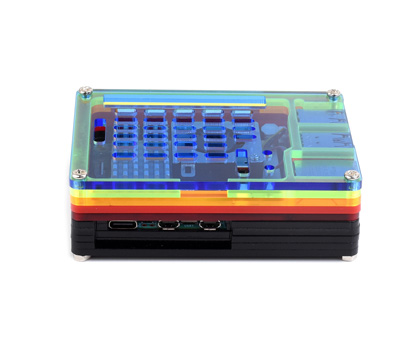
Rainbow color case for Raspberry Pi 5, Nice Looking, dustproof
* for reference only, the Raspberry Pi 5 is NOT included
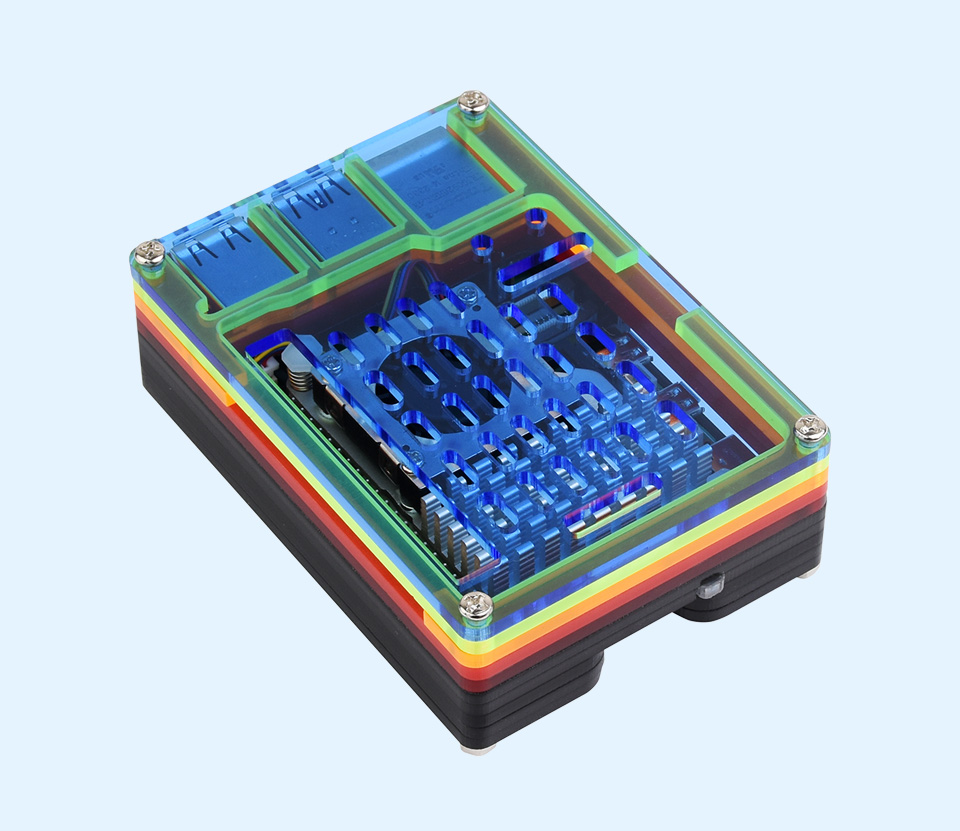
Precise Openings For Sorts Of Connectors, Supports installing Official Active Cooler (not included)
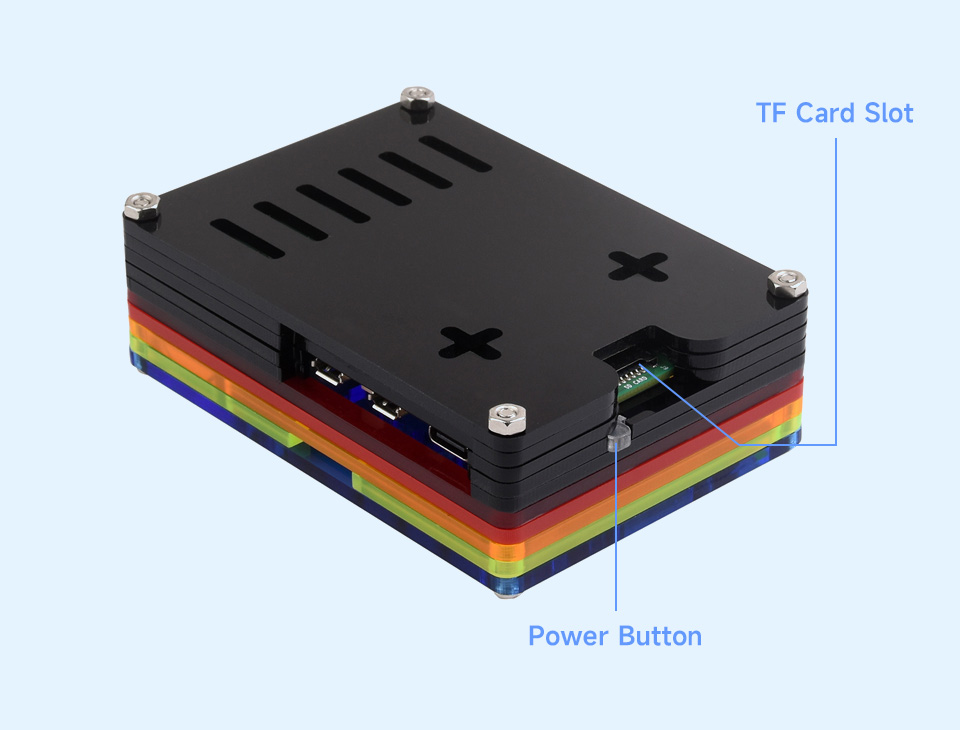
Openings for 40PIN GPIO, PCIe, DSI/CSI interfaces and Airflow Vents on the top and for RTC Battery Connector/UART header on the side, with power on/off button. Easy to pull & plug TF card on the bottom


* for reference only, please refer to the Package Content for detailed part list
The case consists of 10 layers of acrylic panels, please install according to the following steps
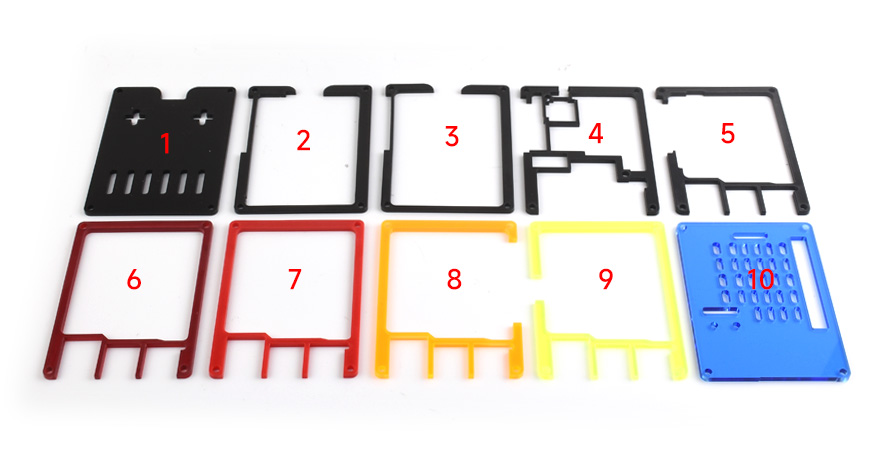
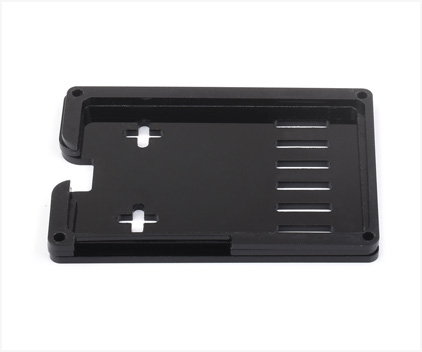
1. Place the 1st, 2nd, and 3rd acrylic panels in order as shown, then place the Raspberry Pi 5 board.
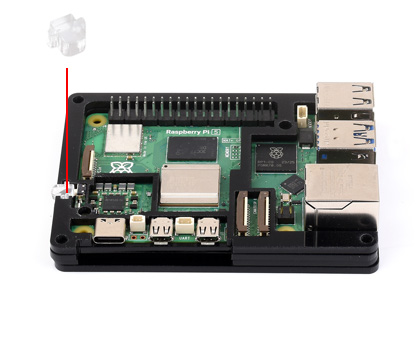
2. Place the 4th acrylic panels on the Raspberry Pi 5, then install the power button.
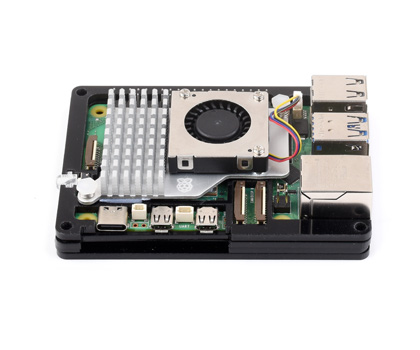
3. Install the active cooler on the Raspberry Pi 5.
4. Place the 5th to 10th acrylic panels in order and fix them via screws, then install the nonskid rubber pads to the bottom.
* for reference only, the Raspberry Pi 5 and active cooler are NOT included.
if you need to install peripherals such as a camera and DSI display, please connect the peripheral cables first before installing the 10th acrylic panel.
Weight: 0.093 kg
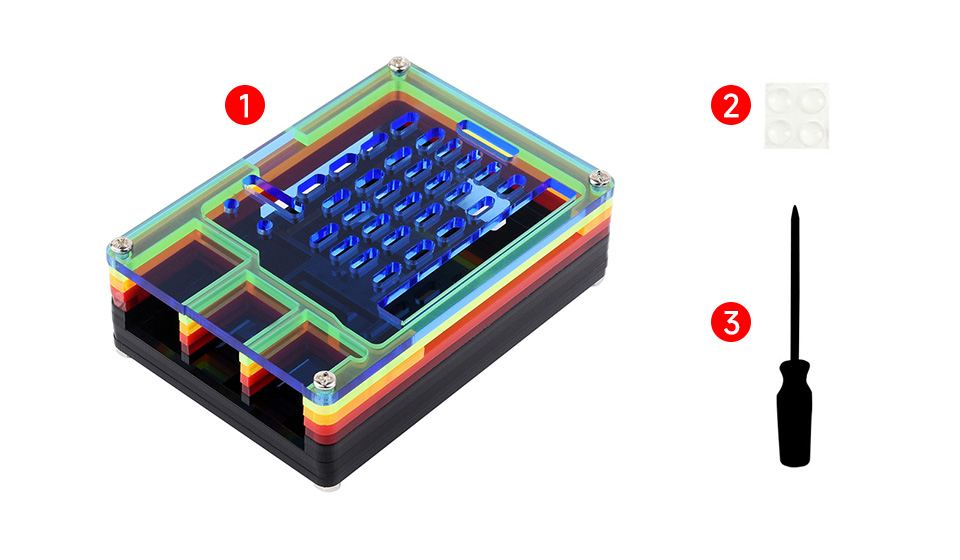
Quick Overview
- PI5-CASE-A x1
- Nonskid rubber pad (4PCS) x1
- Screwdriver x1