Details

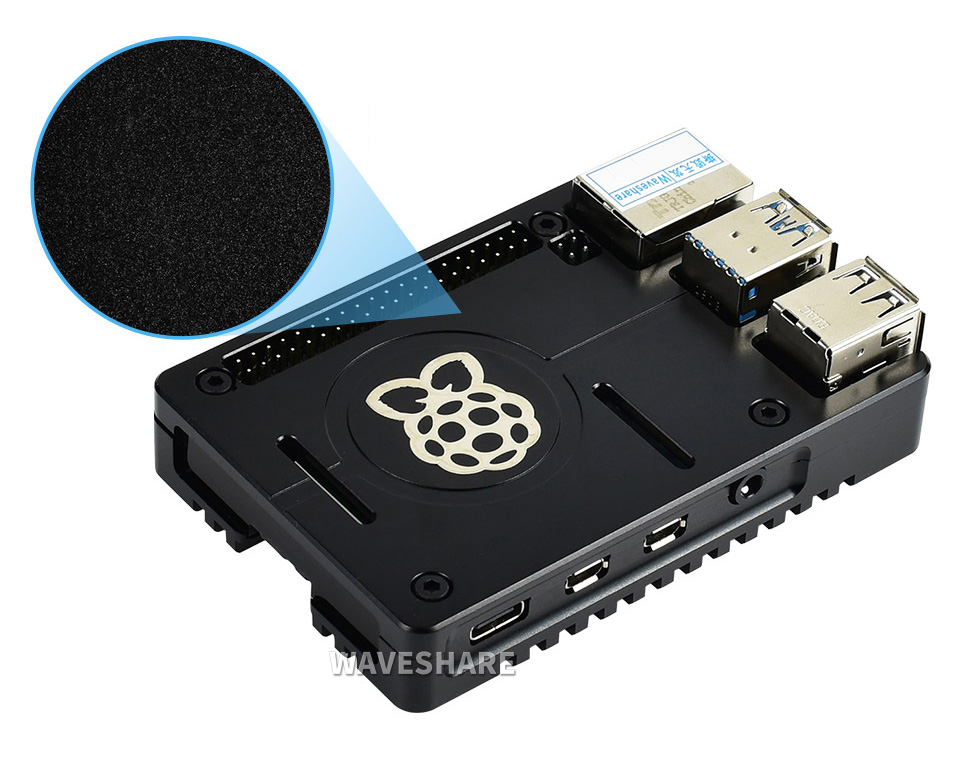
High quality aluminum alloy, fashion style body design

oxidation sand blasting finish, good touch feeling
Heat could be fastly transferred From Pi CPU To The Whole Alloy body,
combined with the bottom groove, achieving better passive Heat dissipation

No more slipping, prevent the case surface from being scratched

easy access to the GPIO and other peripheral ports

Particular acrylic side panel, Non-Shielding Design, No Worry For The WiFi And Bluetooth Signal

Confirm the parts:
- Alloy body case x2
- Thick Si thermal tape x1
- Thin Si thermal tape x1
- Acrylic side panel x1
- Logo sticker x2
- Rubber feet x4
- Copper standoff x4
- Black screw x4
- Spanner x1

Step 1: Paste the thermal tape to Raspberry Pi. Paste the thick tape to the bottom, cut the thin tape into two pieces, paste them to the top side.

Step 2: Fix the Pi into bottom case using the ⑦ copper standoff, insert the acrylic side panel.

Step 3: Fix the lid using spanner and screws, then paste the Logo sticker and rubber feet.

Weight: 0.115 kg
Quick Overview
- PI4-CASE-E x1

