Details
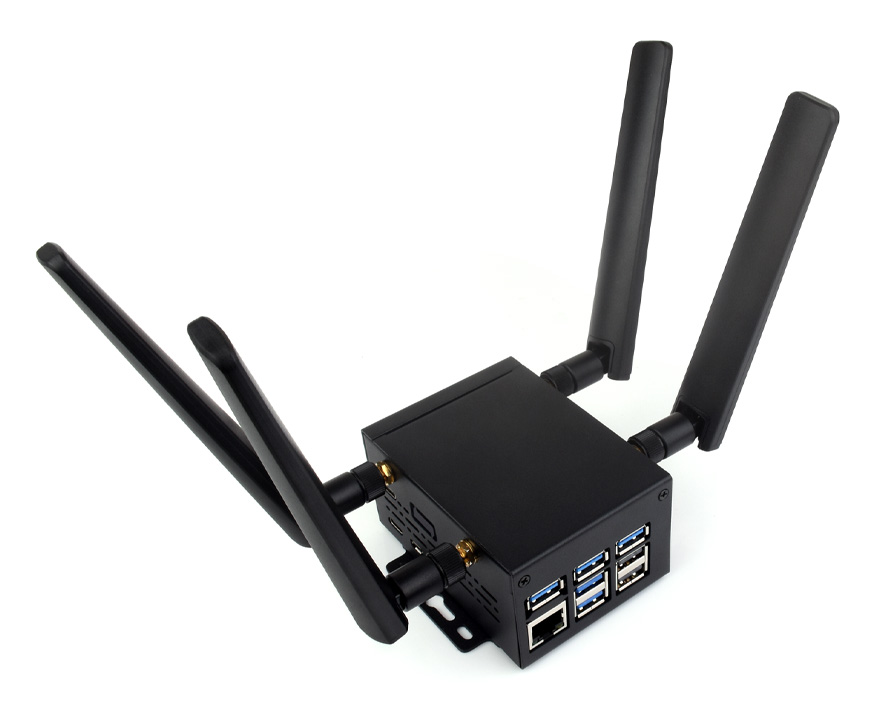
Rail-mount and Wall-mount Support, Larger Internal Space, Supports installing various HATs and Expansion Boards
* for reference only, the Raspberry Pi 5 is NOT included.
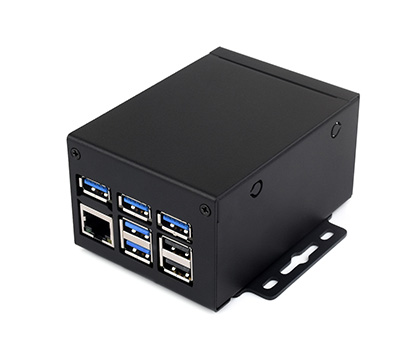
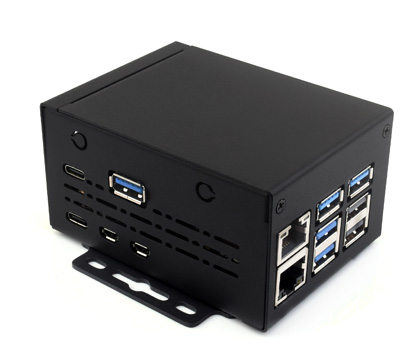
metal case with simple appearance design, Compatible with Most HATs/Modules and Accessories of Raspberry Pi 5
| product type | 1 | 2 | 3 | 4 |
|---|---|---|---|---|
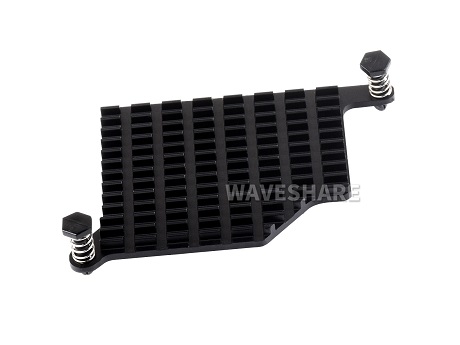
| Active Cooler | 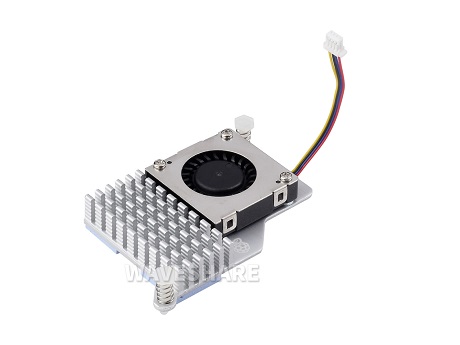 Official Active Cooler |
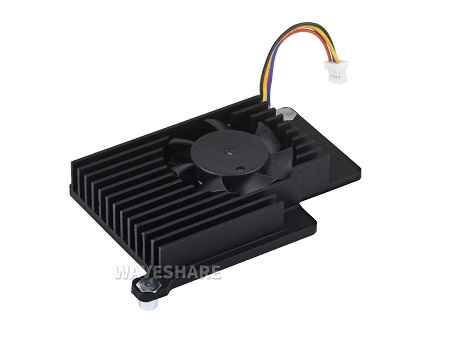 Pi5-Active-Cooler-A |
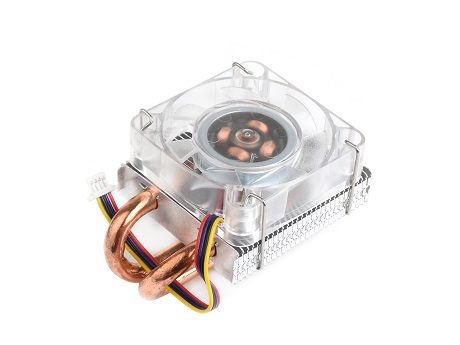 ICE Tower Fan V2 for Pi5 |
 Pi5-Active-Cooler-C |
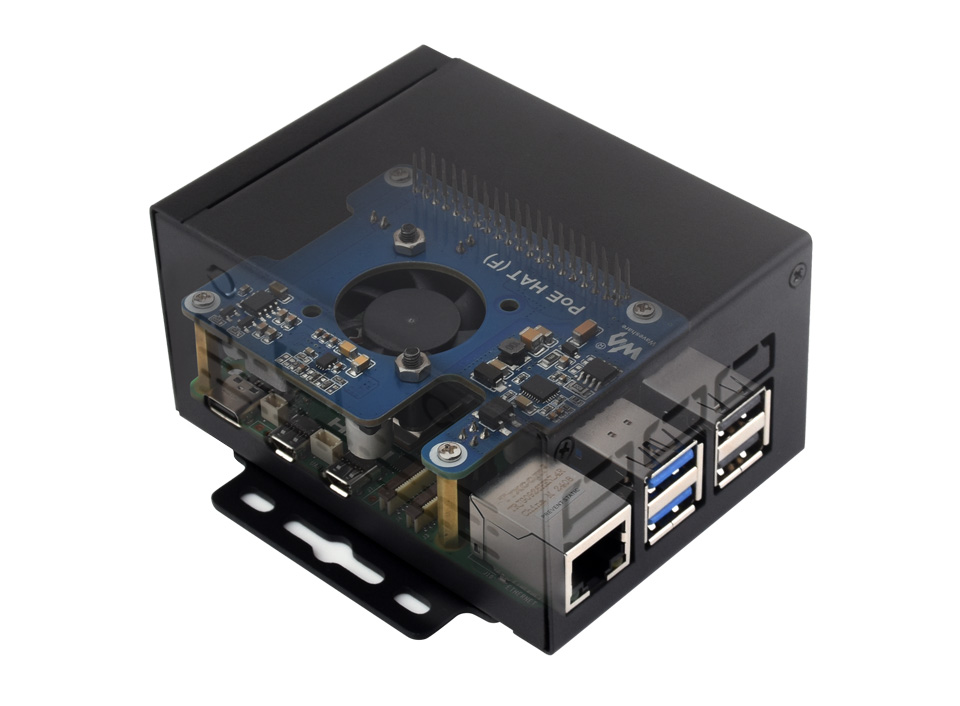
| HAT / Expansion Board |  PoE HAT (G) |
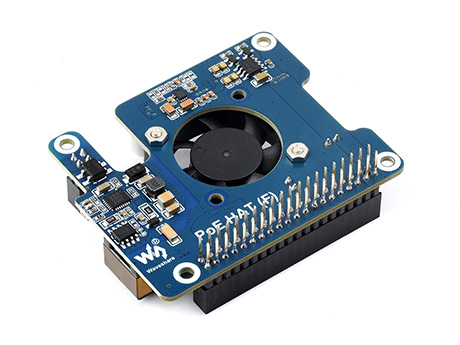 PoE HAT (F) |
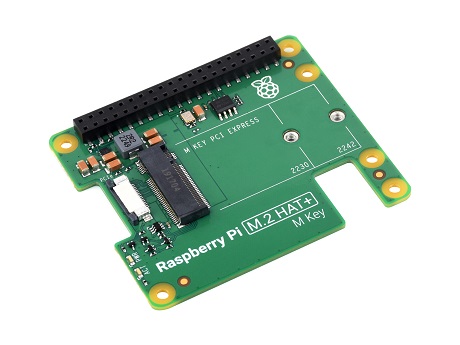 Raspberry Pi M.2 HAT+ |
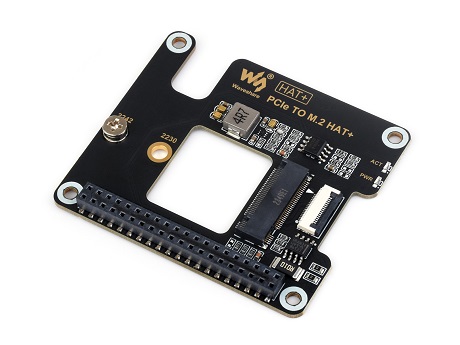 PCIe TO M.2 HAT+ |
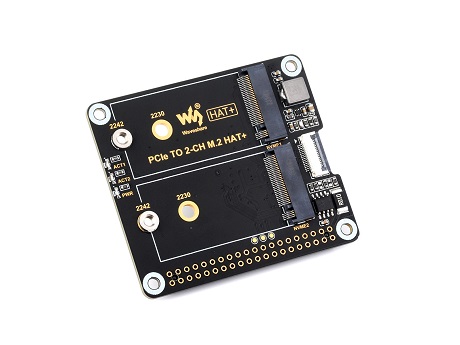 PCIe TO 2-CH M.2 HAT+ |
 PCIe TO 2-CH M.2 HAT+ (B) |
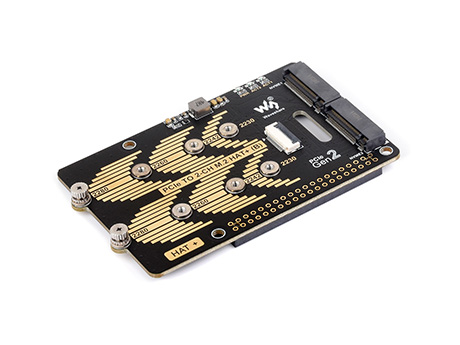
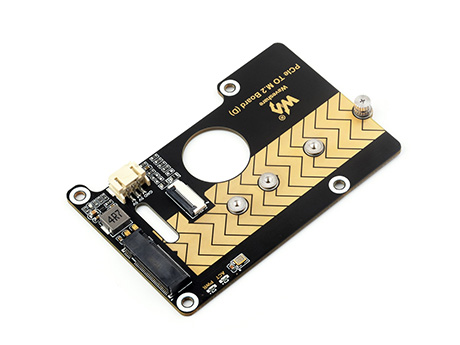 PCIe TO M.2 Board (D) |
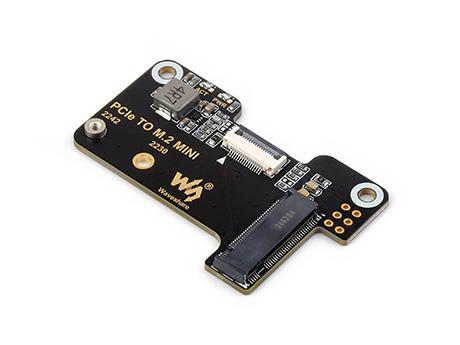 PCIe TO M.2 MINI |
|
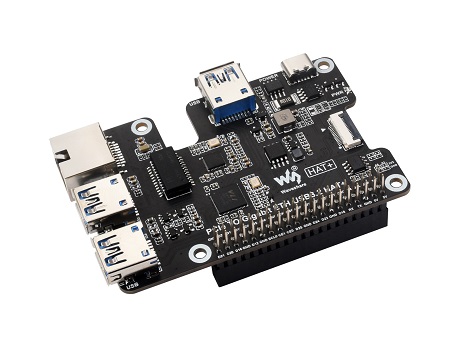
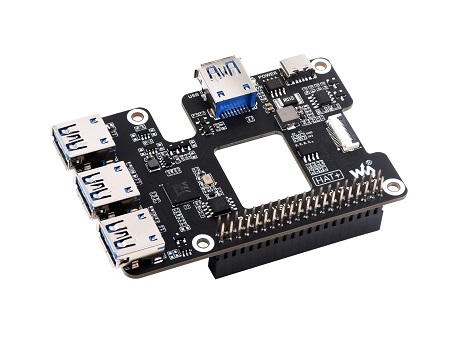 PCIe TO USB 3.2 Gen1 HAT+ |
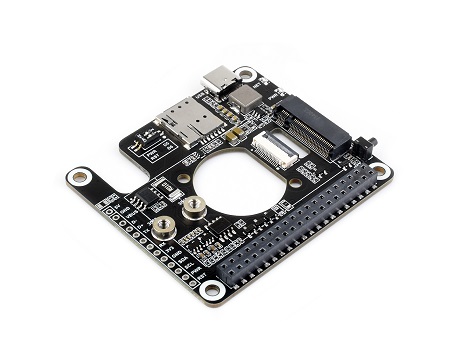
 PCIe TO 4G/5G M.2 USB3.2 HAT+ |
 PCIe TO MiniPCIe GbE USB3.2 HAT+ |
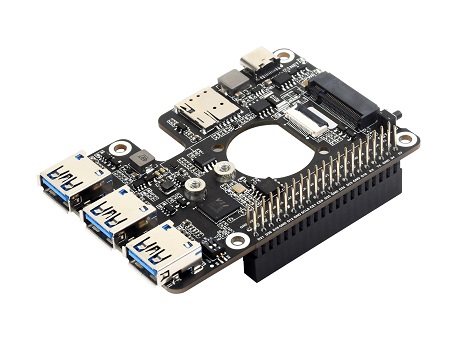
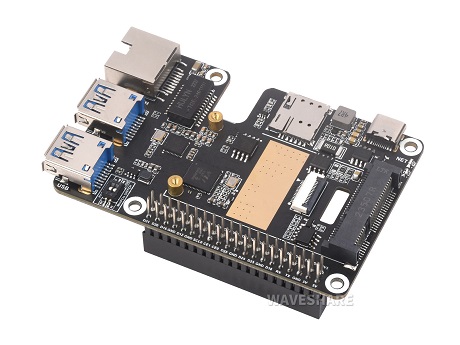
 PCIe TO Gigabit ETH USB3.2 HAT+ |
|
 PCIe TO 5G HAT+ |
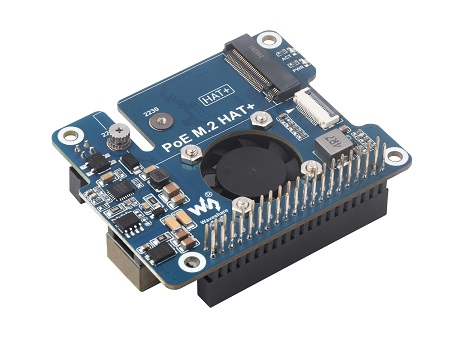 PoE M.2 HAT+ |
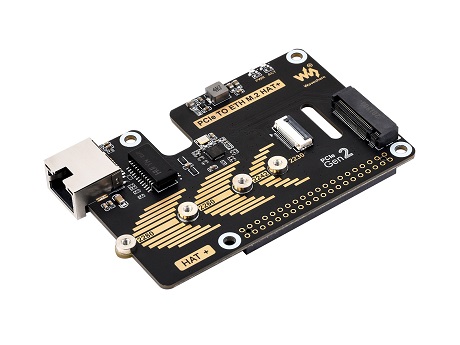 PCIe TO ETH M.2 HAT+ |
More... | |
| NOTE | The table above lists only a portion of the supported HATs/modules, this case can be compatible with more modules. | |||
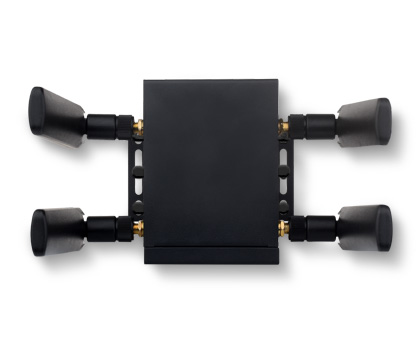
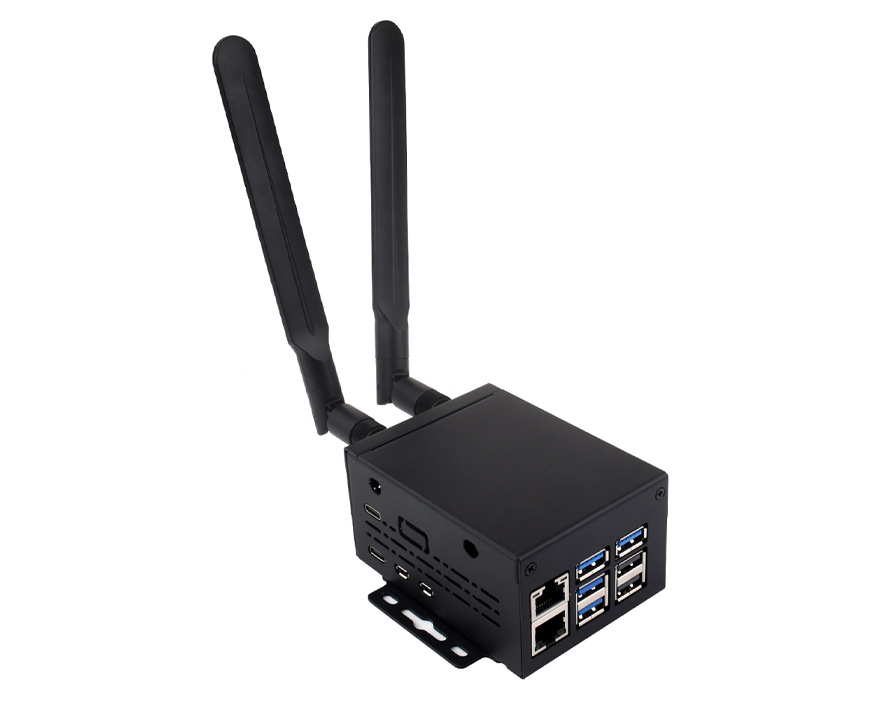
Each Cut-Out Is Completely Aligned With The Interfaces of Raspberry Pi 5, with removable reserved holes. It also has reserved antenna holes and RF outlets to reduce signal attenuation of WiFi and Bluetooth communication
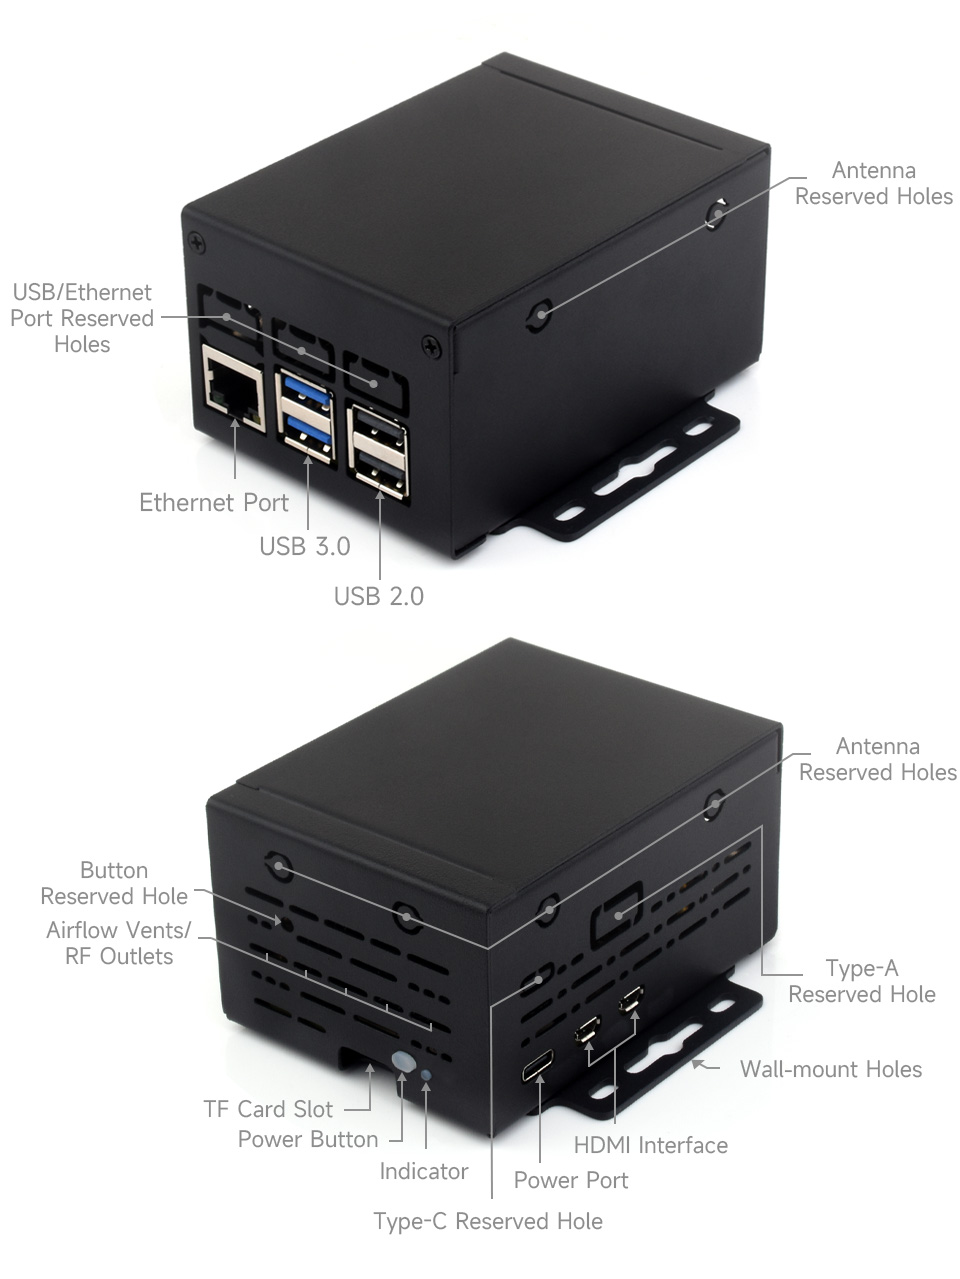
Note: The reserved holes are designed with removable panels. Users can cut them open with needle-nose pliers according to the interface requirements of internal HAT or expansion board.
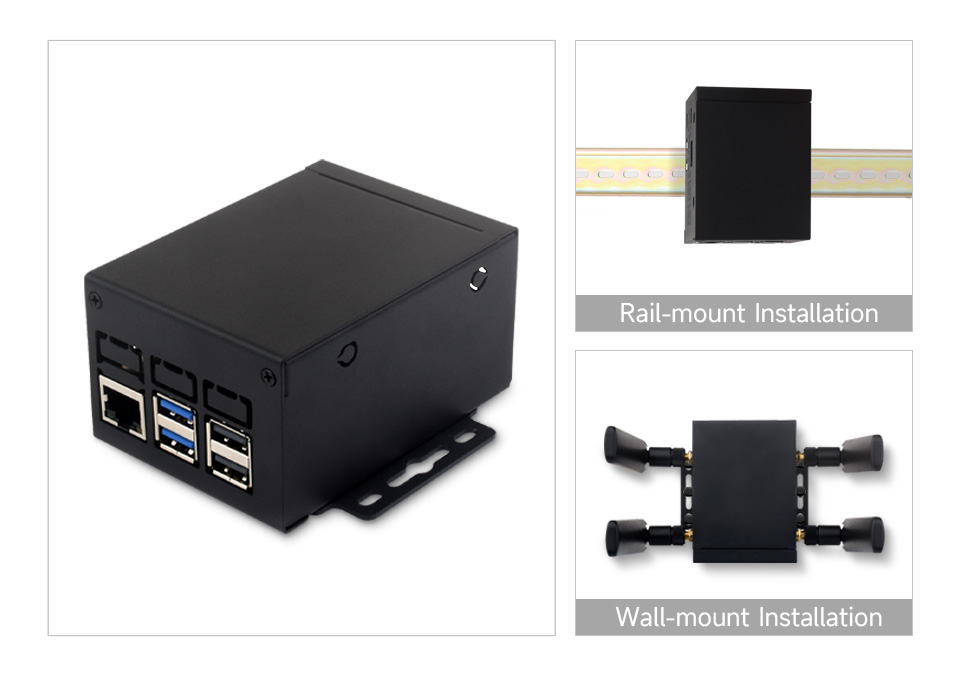
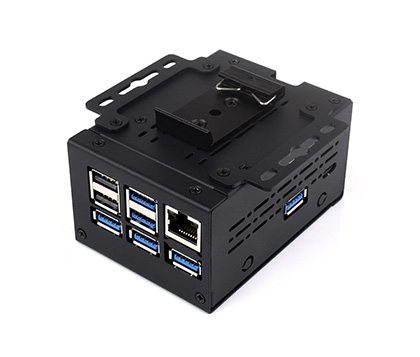
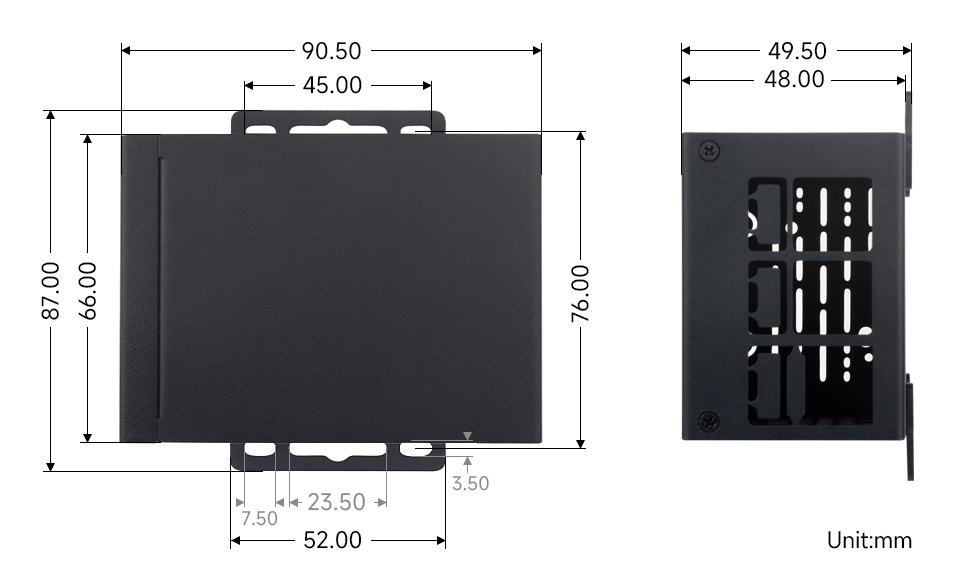
more flexible for industrial installation and use
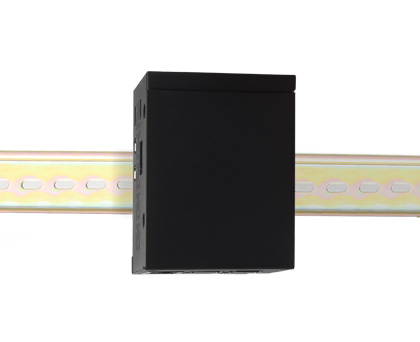
Comes with rail-mount bracket, supports 35mm standard guide rail
Wall-mount installation
installing with PCIe TO 4G/5G M.2 USB3.2 HAT+
installing with PCIe TO MiniPCIe GbE USB3.2 HAT+
installing with PCIe TO Gigabit ETH USB3.2 HAT+
* for reference only, the Raspberry Pi, external antennas and PCIe HATs are NOT included.
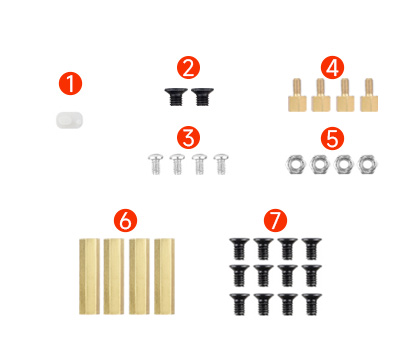
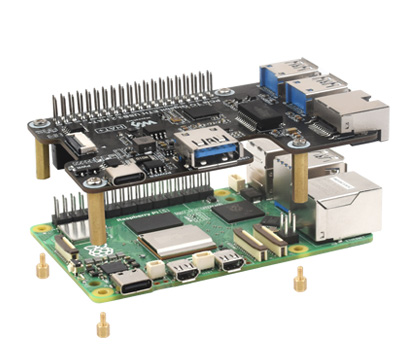
Prepare the screws as shown above. The following is an assembly demonstration using Raspberry Pi 5 and the official cooling fan.

1. Install the cooling fan to the Raspberry Pi 5 with 4x ④ copper standoff and 4x ⑤ nut (or ⑥ copper standoff).
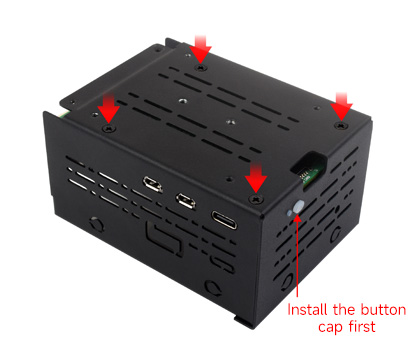
2. Install the ① button cap to the hole on the bottom case, align the interface holes to install the Raspberry Pi 5, and fix the Pi via 4x ⑦ screw.

3. Align the top cover to the USB/ETH ports of Pi 5 and snap it into the bottom case, and assemble them together with 4x ⑦ screw.
4. Then install wall-mount or guide rail bracket according to your needs.
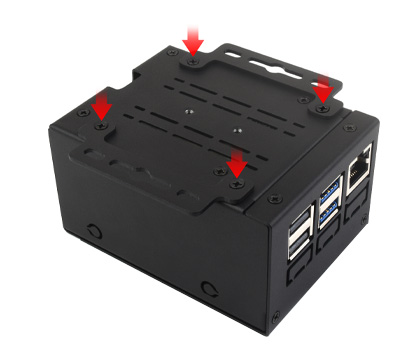
Wall mounting: use 4x ⑦ screw to install the wall-mount bracket to the position shown in the picture.
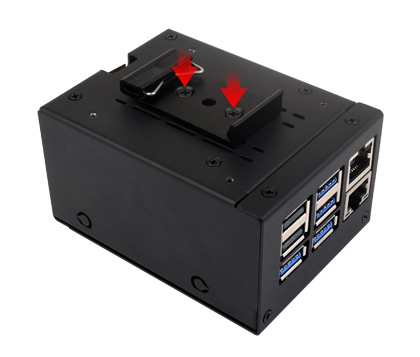
Rail mounting: use 2x ② screw to install the rail-mount bracket to the position shown in the picture.
Prepare the screws as shown above. The following is an assembly demonstration using Raspberry Pi 5 and the PCIe TO Gigabit ETH USB3.2 HAT+.
1. Install the HAT to the Raspberry Pi 5 with 4x ⑥ copper standoff and 4x ④ copper standoff.
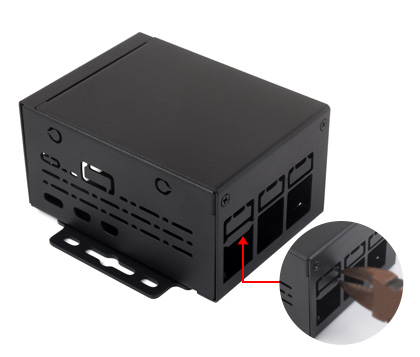
2. Use needle-nose pliers to cut open the reserved holes for the extended ports of the HAT if needed.
3. Then install the Pi5 and case according to assembly steps 2 to 4 of [Pi5 Assembly instruction] above, and the final assembly effect is shown as the picture.
Weight: 0.19 kg
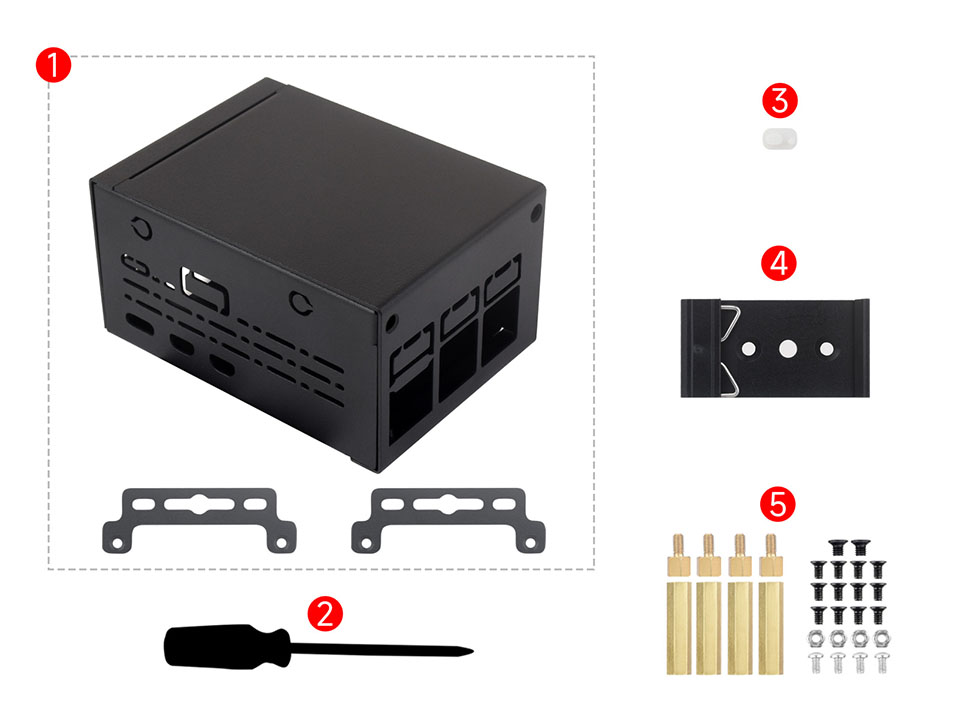
Quick Overview
- PI5-CASE-D (with wall-mount bracket 2pcs) x1
- Screwdriver x1
- Silicone button x1
- Guide rail bracket x1
- Screws pack x1